It’s a pleasant day at Bywater Farm. The sun is shining in spite of predictions of rain. It’s a breezy 83 degrees. I did the minimal housework this morning and baked a loaf of bread. Now I’m in the Crow’s Nest, my upstairs craft room. It’s a good place to be. There are windows on three sides, and I have a good view of the bayou from my desk. The birds are busy today - flying in and out of the nearby maple tree. There are mocking birds, red-winged black birds, blue jays, and - of course - sparrows and wrens.
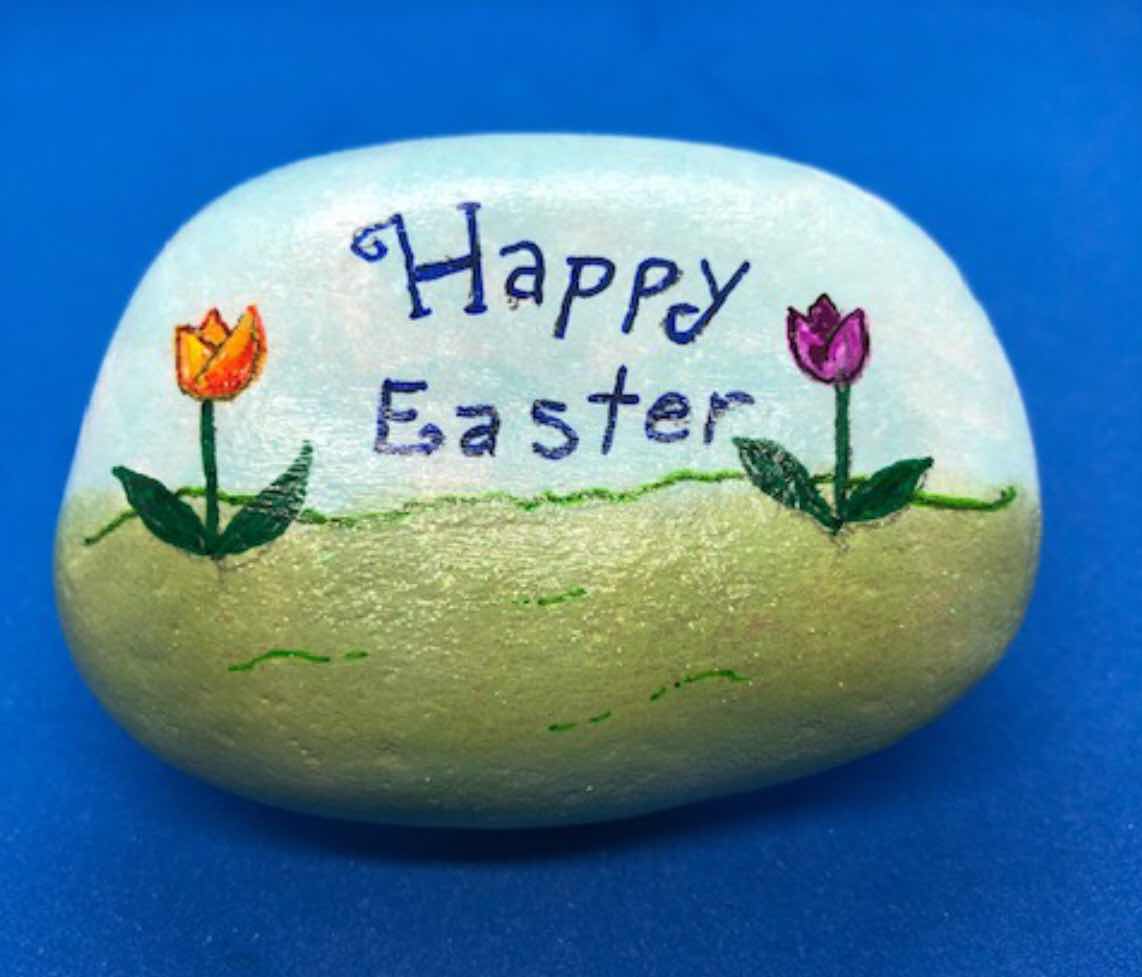
The Crow’s Nest is pretty tidy right now. Work spaces have to ebb and flow, it seems to me. If your work space has to be ship-shape all the time, you never get anything done for fear of messing it up. If it’s a mess all the time, you don’t get anything done because you can’t find anything. If things are tidy, and I can find the tools and supplies I need, it’s fun to do stuff. And I’ve been doing stuff. I finished this rock painting last week, and Jerry hid it (in plain sight, of course) somewhere in town. Nobody has posted a photo of it on the Judybug Rocks Facebook page, so maybe it’s still waiting to be noticed.
I’ve also been doing some paper crafting. I have quite a stash of 12 inch square scrapbook paper. I’ve accumulated it over the years because I was going to do some - you know - scrapbooking. Ha! I can count on one hand the number of scrapbook pages I’ve done. But you can do other things with scrapbook paper. While looking around on YouTube, I discovered directions for making a nifty little book with one sheet of 12 inch scrapbook paper. (Blogger is being contrary today and refuses to let me include a link. If you want to watch this video, go to YouTube and search for "Mini Book with Pockets using Only One Sheet of Paper.") The little book turns out to be 3 inches by 4 inches with handy little pockets inside. What do you do with little pocket books like this? I don’t know, but they sure are fun to make. Maybe I’ll keep my postage stamps in this one.

Part of the fun of making these is decorating the front and back covers. I added some scrapbook cardstock weight paper to the front and back to make it a little more sturdy. Then I rubber-stamped and embossed a butterfly, cut it out, and glued it to the cover. Here’s the inside of another little book - with a tiny envelope tucked in one of the pockets.
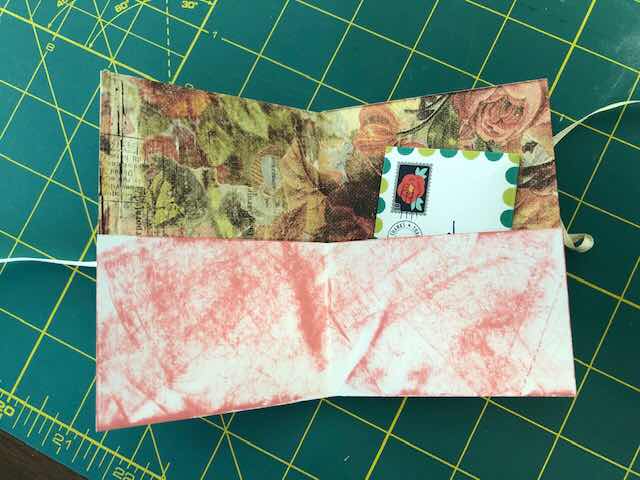
When you fold the paper to create the pockets, the wrong side of the paper shows. This is no problem if your paper has a design on the front and the back. But if the back of the paper is plain white, it will show. You might want to leave it white or decorate it somehow. I used a rubber stamp ink pad to create a design of sorts on the white area.
When I folded one side of the paper up to make pockets, I discovered that the manufacturer’s name and the price was visible. I covered it will a scrap of gingham paper. These little problems just lead to more creativity!

Now I’m off to start a new rock painting. ‘Till next time . . .